
Jimbo's Winter WoF
Jim Young is a NZMGA Ski and Assistant Climbing Guide. He is also a Black Diamond and SCARPA Brand Ambassador. Photo Credits: Ross Mackay, Jim Young
So its been a long hot summer of riding bikes, rock climbing and surfing, but now its winter and you want to go skiing?!
The call of cold dry snow, bluebird days, and laying skin track is strong, but have you considered that your backcountry equipment needs inspecting to be safe in the hills? Much like your car needs a WOF, we need to ensure all our equipment is up to scratch to prevent a breakdown and ensure it functions properly in an emergency situation.
This does not have to be a big deal and should only need to happen once a year to keep us functioning happily in the backcountry. Follow my quick guide to gear inspections
Personal Locator Beacon (PLB) / Satellite Messaging Device (In Reach / SPOT Device)
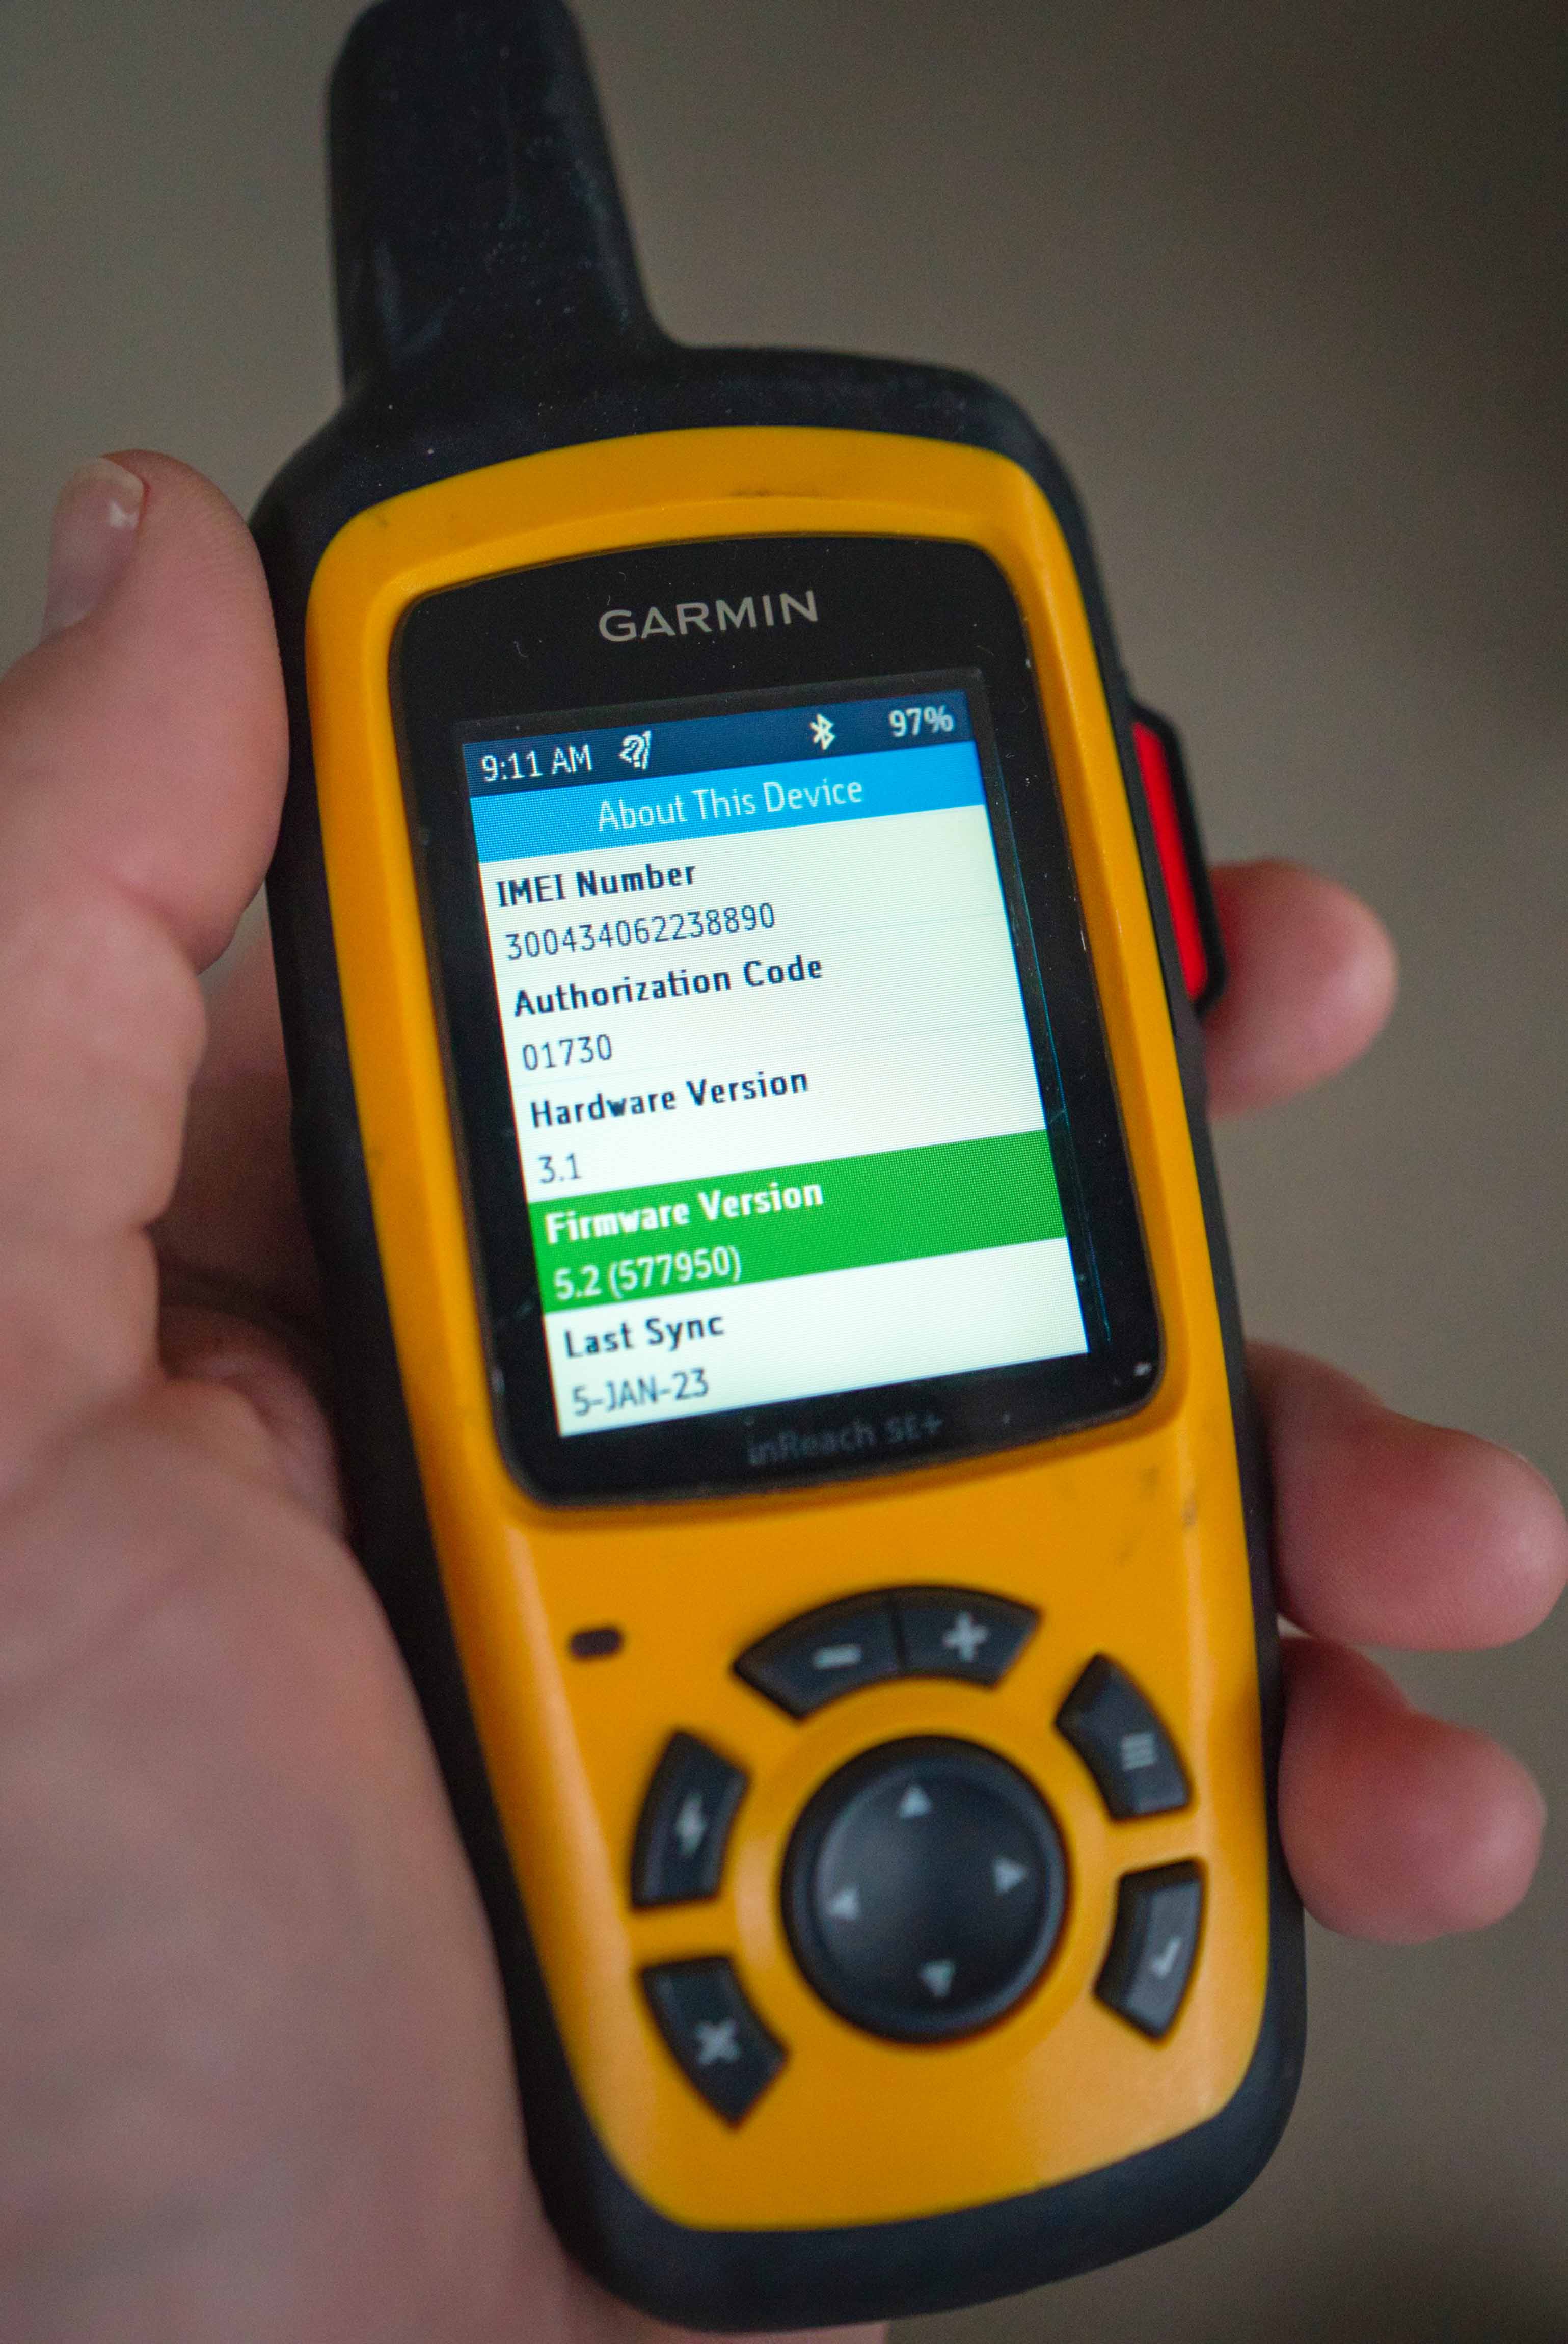
The advent of affordable and functional emergency locator devices has made them an absolute necessity for all backcountry travelers but they are far from fail-safe and need to be checked and tested regularly, some prior to every trip! They are also very different in how they function but that is another topic in itself. For now, we will focus on what to look for to ensure it will work when needed.
PLB
- Inspect the casing for any cracks or damage.
- Unfold the aerial and inspect for any damage (unit dependent)
- Test the battery using the built-in testing function - follow the instructions on the device or in the manual
- Check that the battery is within the use period, often around 5 years from the purchase date. If your battery is out of date, contact the place of purchase for advice on how to get the battery replaced and the unit tested. This is often neglected due to the cost but what is your life worth?
Satellite Message Device
- Inspect the casing, screen and buttons for any cracks or damage
- Ensure the device is charged
- Send a message to ensure it's functioning
- Confirm subscription is active
- Test GPS for accuracy (if present)
- Test Bluetooth connection (if present)
- Update firmware on the device and the app on your phone (if present) to ensure best possible functionality
Don't take chances with these devices. If you have any doubts, send it to the manufacturer for testing or replacement as required. The best practice is for groups to carry 2 different means of raising the alarm i.e x1 PLB and x1 Satellite Messaging Device so you don’t have a single point of failure in requesting emergency support.
Transceiver
This is a vital piece of life-saving equipment and needs to be treated as such. It's either saving your life or your buddy's right?
Each manufacturer has their own instructions for care and maintenance (remember that handy book that you lit the fire with?) and should be followed routinely, but here are some universal care tips for all transceivers.
Battery
Never store your beacon long-term with batteries in place eg over summer. Alkaline batteries can leak when discharged which causes corrosion on the circuitry and can create a ‘short’. This is extremely dangerous as the transceiver may fail without warning in the field as changes in temperature or humidity around the device can trigger a failure.
If your beacon has signs of leaked batteries or corrosion on the terminals, it needs to be replaced immediately without question. In rare cases, the manufacturer can replace terminals but leave that for the professionals to decide.
Software and testing
With all modern devices each manufacturer regularly updates the software for devices and it's very important to keep them up to date. This often improves functionality and corrects any errors that may exist in the programming. To give you an idea, your average device contains enough computer code to fill a small library so good to keep it current.
Check online each season with your device''s support webpage for the most current software version. Some devices such as the Black Diamond Recon and Guide have Bluetooth functionality so you can update and test your device in 60 seconds from the comfort of your own home.
Testing is part of this process whereby the manufacturer provides a ‘health check’ of your devices antennas in search and receive modes and function checks all features. Very important to do this yearly because if your device has a reduced antenna output for example you may not notice during routine use. This process should provide you with a testing document to show your device is functioning properly, useful for record keeping.
Case
Inspect the casing for any damage or wear. Especially around the battery compartment, if the housing has been damaged and battery’s become loose this could be a death sentence in an avalanche.
Watch the video on our YouTube
Avalanche Airbag Pack
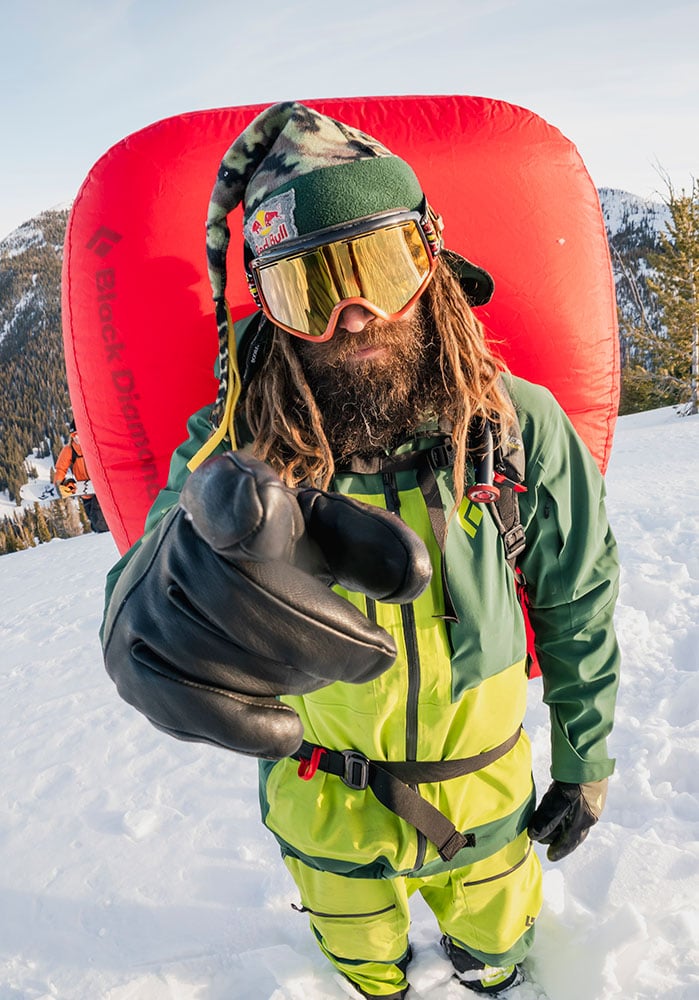
Much like the ubiquitous nature of emergency locator beacons avalanche airbag packs are becoming widespread worldwide for backcountry skiers and snowboarders, especially in a mechanised skiing environment. As these are a mechanical safety device (as in, it inflates to protect the user) regular inspection and testing is essential.
Do not rely on it simply working fresh out of the packet (I'm sure it will, but…), and use the opportunity to deploy it in your living room to learn how your pack works at the same time.
Canister type
- Check the pressure gauge is within spec for the unit (READ MANUAL!),
- Inspect bottle fitting is tight and correctly attached,
- Inspect bottle for damage,
- Inspect deployment system and handle.
Electric fan type
- Turn device on and confirm self check ‘ok’ (READ MANUAL!),
- Check battery health and charge,
- Check battery correctly fitted,
- Update firmware (if an option),
- Run self test diagnostics (if an option)
All Airbags
- Check airbag stow system is correctly configured PRIOR to self-test - zippers correctly configured and the airbag deployment is not obstructed. This will save you from destroying your pack,
- Check handle stow system and remove the handle,
- Deploy airbag as per instructions,
- Ensure correct duration and inflation of system,
- Deflate and repack as per manufacture instructions.
Above all, READ THE MANUAL and PRACTICE!!!
Probe and Shovel
As basic as these tools are, they are lifesaving pieces of equipment and are critical in an avalanche rescue.
Often neglected in your pack they need to be checked to ensure functionality. You would hate to find out in a rescue that your shovel doesn't work!
Watch the videos on our YouTube channel
Probe
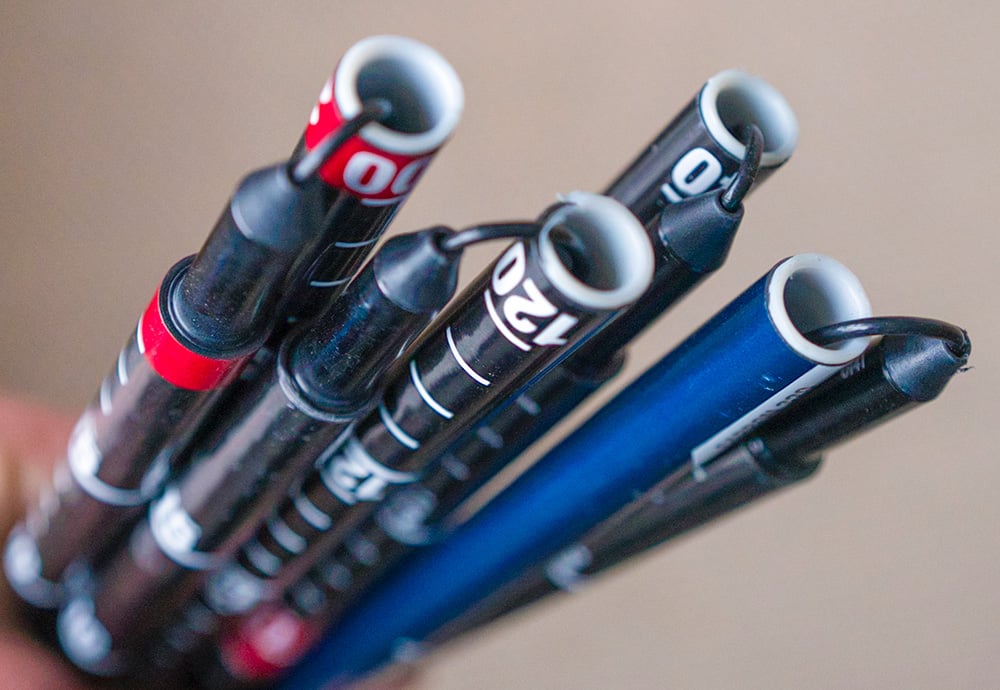
Remove from the storage bag/backpack and closely inspect all the ‘U’ bends of the cable while the probe is still bunched up. At these ends, where it's not protected by the probe itself, the cable can rub and fray which causes the probe to fail when deployed.
Deploy probe and check locking mechanism functions well. This is another area of failure as the locking tabs can break or bend and prevent the probe from staying assembled.
Shovel
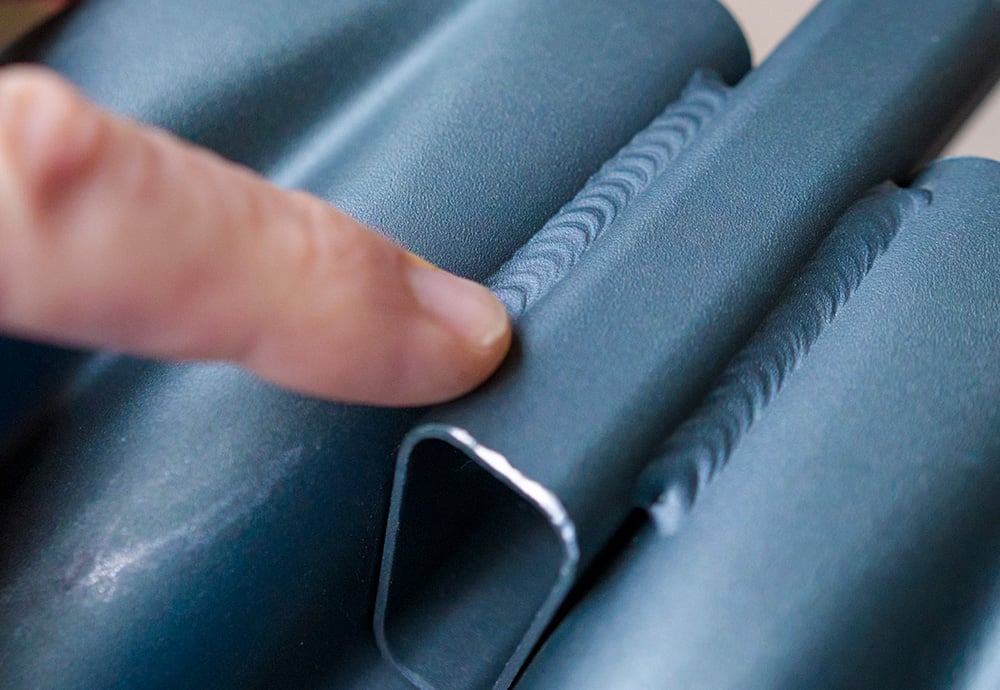
- Inspect the attachment between the handle and blade for cracks and damage.
- Clip the hand and blade together and ensure the locking pins are functioning correctly,
- Extend the handle and check the shaft is not bent and that the pins all lock together.
- Inspect the handle to make sure its secure and not damaged.
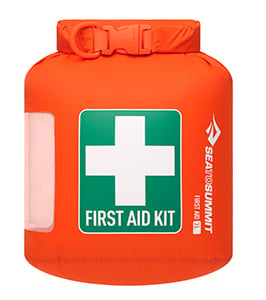
First Aid Kit
This should always be carried and (hopefully) never used. This means that things can be easily overlooked and trip you up when it's time to put a bandaid on.
- Airways - carry a small selection of different size oral airways. In the event of CPR these are invaluable.
- CPR mask - Carry one, better to keep things tidy when providing rescue breaths.
- Bandages / Splints - carry enough for a major bleed and an an improvised splint
- Drugs - Always carry a small supply of over-the-counter pain medications such as panadol, ibuprofen, and antihistamine. When used correctly, these are very effective at controlling pain when someone is injured. Always leave in its original packaging, check the expiration date, and adhere to the dosage instructions on the package.
When in doubt, do not administer. Pain will not kill someone but the wrong drugs might.
When was the last time you did a first-aid refresher course? Immediate treatment following an incident can make all the difference for a swift and full recovery.
Now for the fun stuff ...
Skis and bindings
Ideally, at the end of each season, we should all de-tension the release setting on our touring and downhill skis to preserve the release values (and our knees!).
Set and check your release values based on the manufacturer’s specifications. Your release values are a determination of your weight, boot sole length, and ski ability, not what your mate reckons it should be.
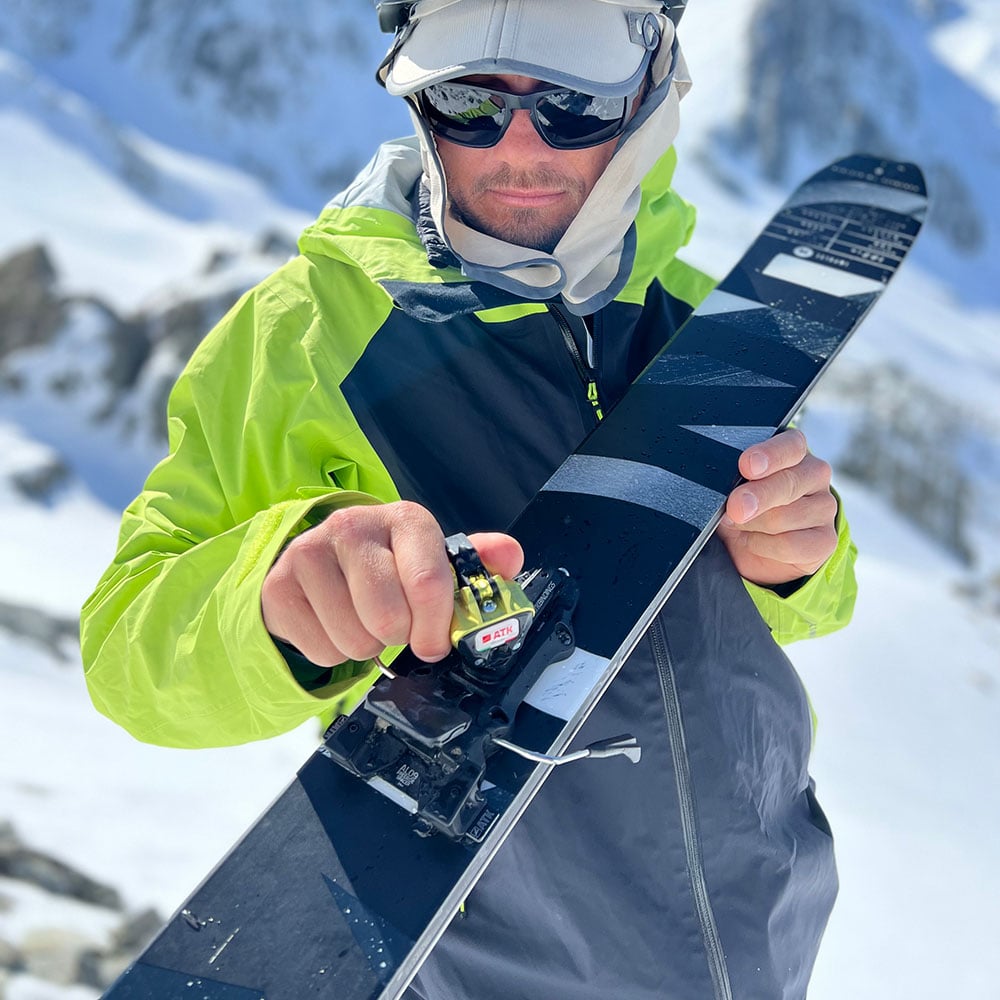
With “tech” type touring bindings maintenance is key to the longevity and safety of the binding. To keep them in good working order they should be stripped down to the induvial parts, inspected and greased annually. They all have small moving parts and get an amazing amount of dirt caught in them which effects reliable release and function.
Use a high-quality semi-synthetic, low friction, low-temperature grease and make sure to clean each part thoroughly as you go. If you are not game to pull your bindings to bits take them to your local ski touring shop and have them do it for you. It is the ‘oil change’ of ski touring, do it once a season and your gear will thank you for it.
Take your skis to your friendly workshop tech for some love before the season starts. Flat waxed skis are fast and easy to turn, they are less susceptible to rock damage and glide better with some hot wax. Binders check that the DIN are correct for your weight and that your boot spacing/forward pressure is correct for the heel piece of your boot (especially if you have a new boot in the same size).
Watch the videos on our YouTube channel
Boots
There are a few key things to check to make sure you do not have a day-ending problem in the field.
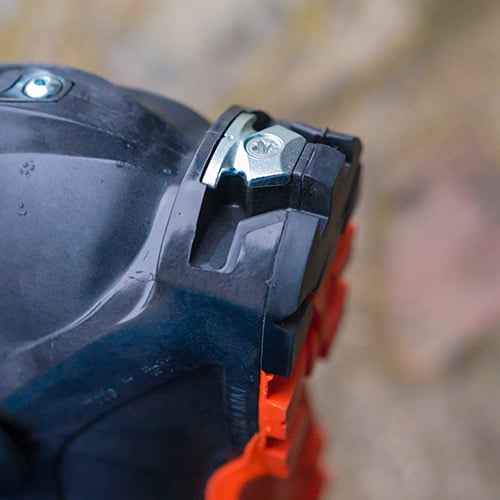
It's really important to check your boot soles for wear. As your toe piece wears away it can dramatically affect how your binding releases, especially in traditional downhill binding. An easy way to tell is, fit your boot to the binding and apply lateral force (like if you're skiing) to the boot and look for undue play between the binding and boot.
If you have a boot with replaceable soles consider changing them otherwise you might be looking for new boots sooner than you planned.
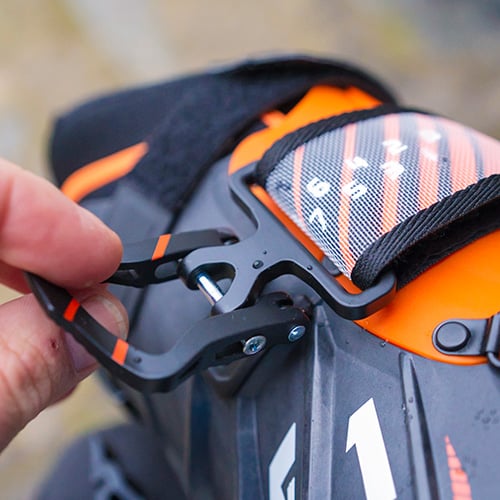
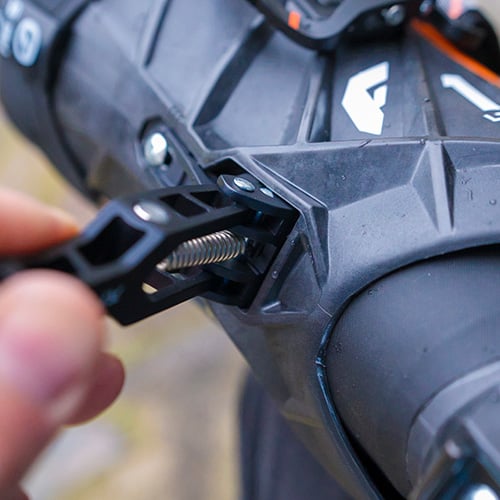
On touring boots with ‘tech’ type fittings inspect the toe and heal fittings for damage or wear. Fit to ski in touring and downhill mode and look for play/alignment and proper fit.
Check your walk mode mechanism for correct function and wear, it's not much fun to find out you're stuck in walk mode at the top of a dreamy powder run, let me tell you!
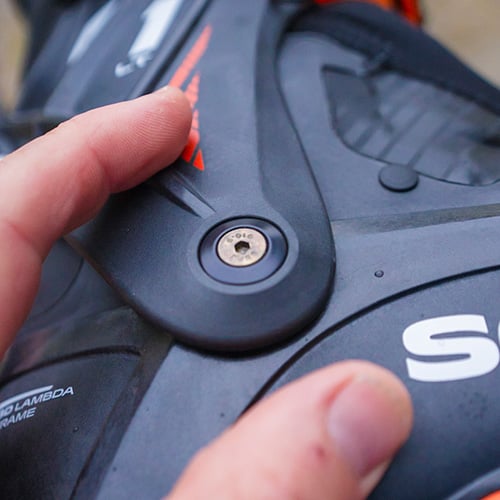
Check the cuff pivot (where the top and bottom of the boot join) for play or misalignment. Not as much of a problem as in years past but on touring boots they are consistently moving and can wear or get loose and it’s a day-ender when your boots fall apart on the hill.
Check shells and cuffs for any hidden cracks and pull liners out and check for excessive wear between shell and liner and remediate with some hard-wearing tape etc. Make sure that if you have a frame or DIN-type binder, the IFD pad has been correctly spaced to account for any sole wear from previous season use. Watch the videos on our YouTube channel
Poles
Check out this article on how to take care of your poles.
While it focuses on trekking poles, the information is relevant to your ski poles. Or maybe you use your poles for both. It covers how to tension your poles correctly and change baskets and tips.
A key point is to ensure the tension is correct. This can change during summer and winter temperatures. Nothing is more annoying than getting into the backcountry and your poles are sliding because the tension isn't correct.
While changing your baskets from summer trekking to winter snow, check them and the fittings for excessive wear.
Skins
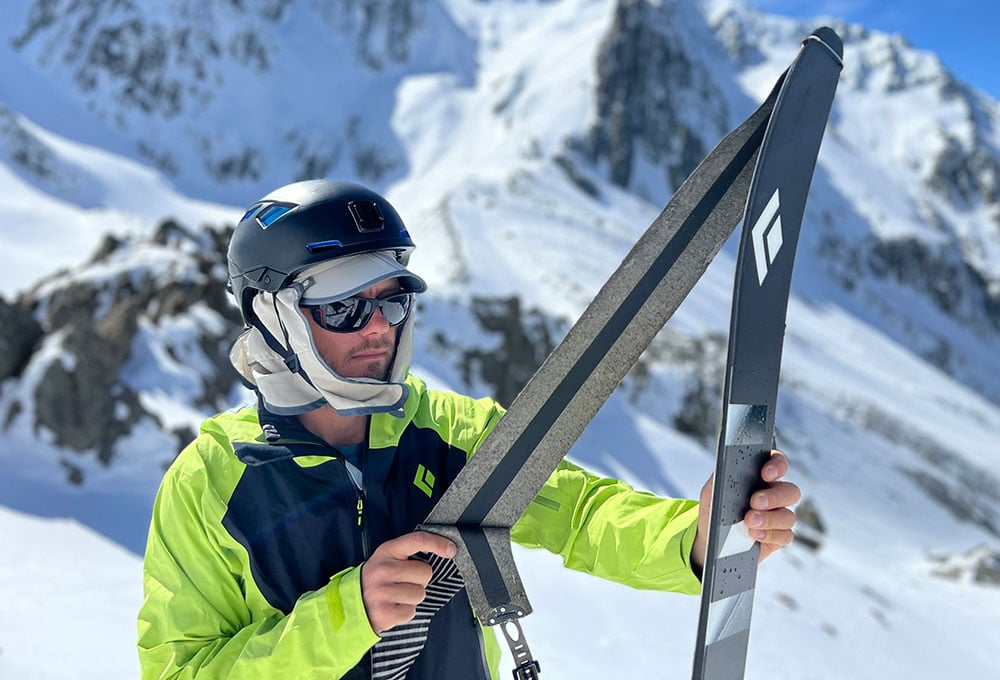
I have been caught out by this one a few times. Ideally during the summer months store your skins with the skin savers provided when you brought them. Personally, I find them not worth the hassle during winter but for long-term storage during warm summer months, it pays to use the savers.
This prevents the glue from sticking to itself and removing it from the skin surface. The problem this causes is twofold, you have a skin with missing glue (it won't stick to your skis properly) and the extra glue that’s globbed up can transfer to your ski bases. This is a day wrecker as glue stuck to your skis will act like a very ‘helpful’ set of second skins (that you cannot remove) and makes downhill skiing not much fun at all, trust me on that!
Watch the videos on our YouTube channel
The Human Factor
Lastly, let’s not forget ourselves. Much like our ski edges, our skills get rusty over time when not used often. when was the last time you did some beacon practice, did an avalanche course, or read the weather forecast?
It’s all very well to have a bunch of nice gear but without the skills and knowledge it's worthless. Even as a well-practiced professional I get rusty and need to refresh on things yearly. Invest in your and your friends' safety and wellbeing in the backcountry and book an avalanche course with a qualified professional guide to ensure you know the basics.
Start checking weather and get your head in the game again, grab a buddy and some good ziplock bags and head to the beach, bury your tx in sand and do some basic practice and get the brain working again around the protocols on how you should perform a search. Refresh with some reading, to familiarise yourself with terminology and avy techniques, just start to get the brain into “winter mode” and things will start flowing back in to fill the gaps, you’ll be ready for the snow by the time it arrives.
Do some probing and digging exercises to see how long it takes you to remove a backpack from 1.5m of snow for example. Often these skills are overlooked and are critical to a successful self-party rescue.
Remember that no one is immune from failure or error and even the ‘experts’ make mistakes. It's about consistently learning, adapting and improving your backcountry habits to have years of safe and enjoyable experiences in the mountains.
Watch our Snow Safety videos for more info on trip planning.
Check out this blog from Nick Allen on why Deciding When to Turn Back can be so difficult.
Product Info

Black Diamond Recon LT Beacon
The Recon LT is the lightest fully featured avalanche beacon on the market. Bluetooth capabilities gives users the ability to manage settings and software updates from your smartphone.
The housing features soft-touch contact points for improved handling in the field, and in the event of a slide, a 50-meter circular range with three antennas provides pinpoint search accuracy in the backcountry. The included harness-style carrying pouch provides fast removal for beacon practice and emergency response.

Black Diamond Transfer Shovel
Featuring a redesigned extendable handle that’s stronger and more comfortable, and a high-volume blade profile, the UIAA certified Black Diamond Transfer Shovel helps you throw as much snow as possible from the smallest footprint.
Its durable, smooth-bottom blade gives you clean walls in your snow pit and the versatile design works well in any backcountry situation.

Black Diamond Quickdraw Probe 240
With a shorter length ideal for lightweight tours, avalanche rescue practice and terrain with shallow snowpacks, the Black Diamond Quickdraw Probe 240 features a durable 6-section aluminum construction and a stainless steel cable.
The Pro 240’s ferrules make for increased durability and quick alignment, while the integrated stuff sack provides fast, one-pull deployment in emergency situations.
The Probe 240 has a fast, one-pull deployment in emergency situations, while the stainless steel cable adds durability.
